
This is a fantastic way to add a much needed sparkle to your autumn/winter outfits and absolutely great to get some tops ready for the holidays.
DIY Glitter Striped Top

I honestly love it and it looks so so so much better in person, the pictures really don't do it justice.

- a top of your choice
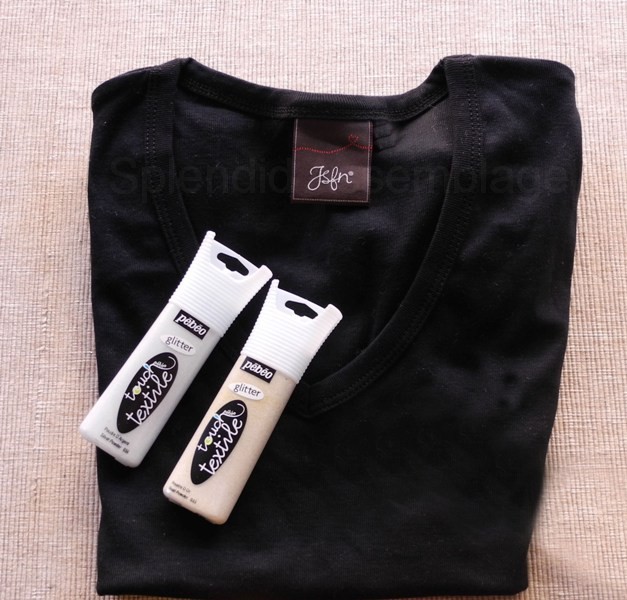
- glitter textile paint
- masking tape
- a painting or foam brush
- a plastic bag or a piece of cardboard
- fabric chalk or pencil and measuring tape (optional)
I used a plain black V-neck tee but you can do this on any kind of top you want.
I went for a few stripes of alternating silver and gold glitter. You can do more or less stripes depending on the design you have in mind.
You can either measure and mark your stripes using a measuring tape and a fabric pencil or trust your eyes which is what I did and for once they did not let me down :)

If you go by measuring just mark the stripes on the top and then firmly position your masking tape pieces on the marks to create the pattern you want. Make sure the tape is firmly stuck with no gaps. My stripes are about 2 inches thick each.
Place the plastic bag or cardboard piece in the top so that the paint doesn't transfer to its back side.

Using your brush begin painting between the masking tape. Don't be too generous with the paint near the tape edges to avoid it bleeding under.

If you are using two colors of glitter it is best to finish the stripes of one color, wash your brush thoroughly and then continue with the second color.

Once you paint the stripes let the top dry according to your paint manufacturer's instructions.

When the paint has dried slowly remove the masking tape.


Most fabric paints require some form of "setting" after they dry (ironing, washing etc) so read on those instructions and set accordingly.
 Once the paint is set enjoy your new top and remember to always wash it
according to the paint's instructions so that the glitter lasts :)
Once the paint is set enjoy your new top and remember to always wash it
according to the paint's instructions so that the glitter lasts :) 
Hope you like it because I love it!
xoxo
That is truly amazing Dina!!!!Well done :)))
ReplyDeleteI love stripes and glitter too :)
x
I'm a total glitterholic, and I think this is really cool. I especially like how the gold and silver pops from the black background. :}
ReplyDeleteI love this, totally cute idea!
ReplyDeleteWhat a cute project! I love it so much that I decided to feature it in our roundup of glitter crafts! Check it out here: http://www.favecraftsblog.com/link-love-glitter-crafts/
ReplyDeleteHave a great day!
You have an amazing blog!!! love this DIY.
ReplyDeleteYou also have a new fan ;D
Julieta
www.vjuliet.com
You have an amazing blog!!! love this DIY.
ReplyDeleteYou also have a new fan ;D
Julieta
www.vjuliet.com